Edit text in a screenshot of an app or website
Edit text in a screenshot when a mockup, help article or design review needs different words and recreating the screen would take too long. Designers, product managers and technical writers can fix a typo, update a renamed label or try new button wording without opening the source design.
Or drop an image here. PNG, JPG or WebP, up to 14 MiB.
Your image stays on this device until you sign in.
Sign in with Google to upload. Your first Standard edit is free and includes a watermark.
Examples
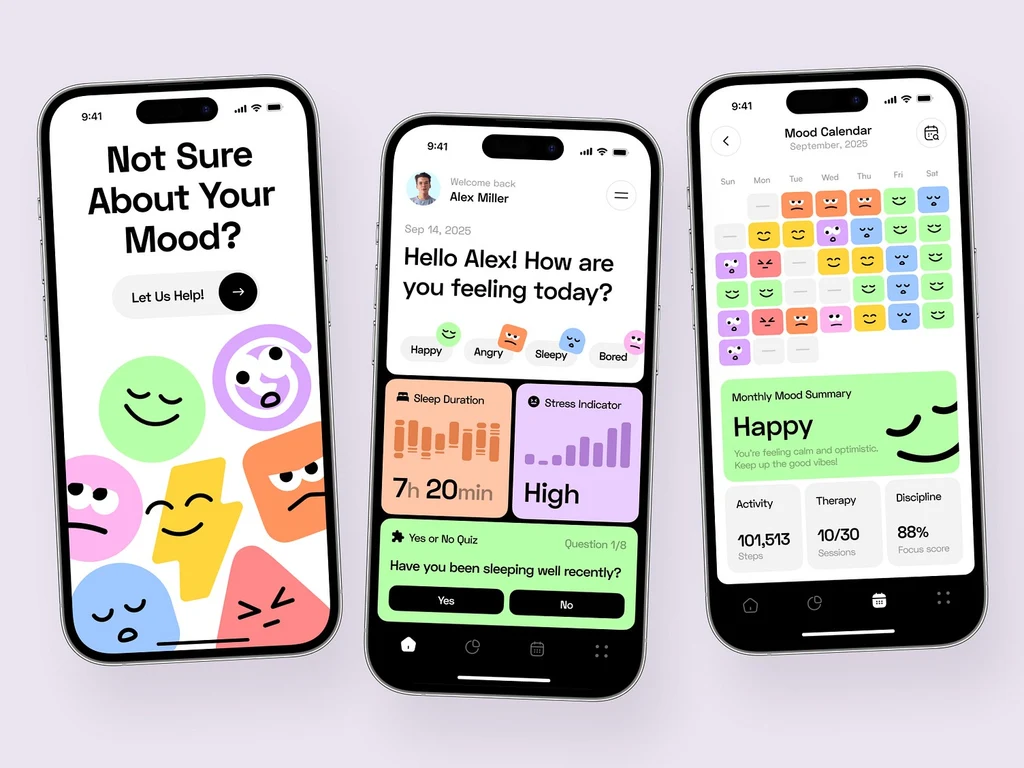
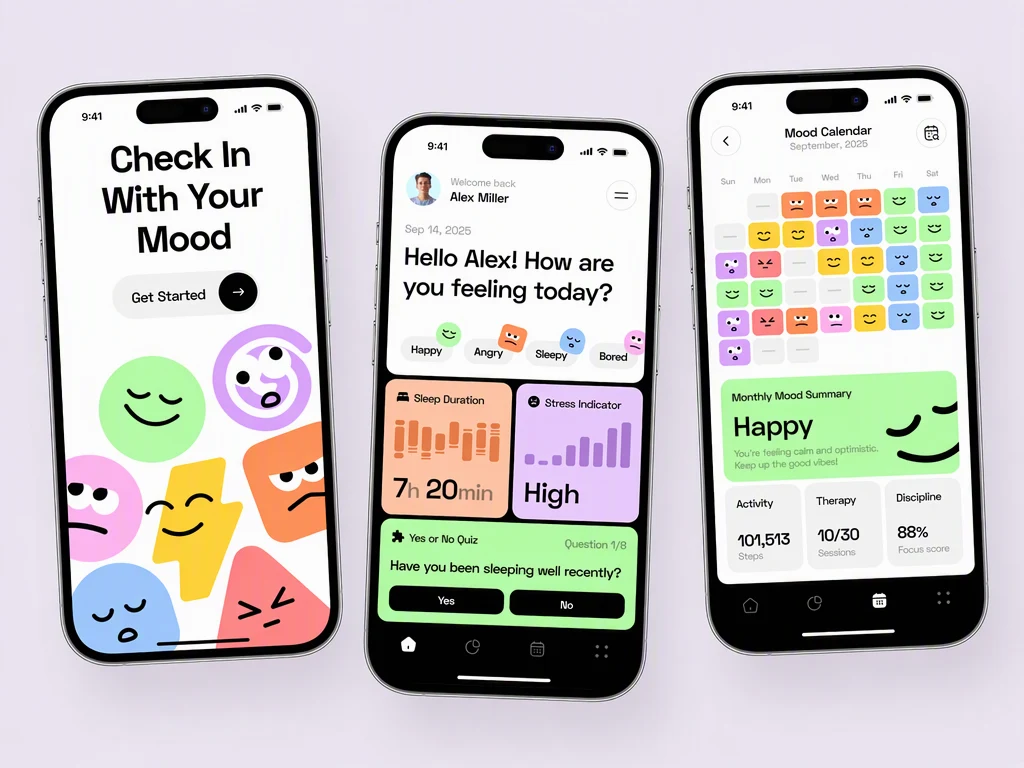
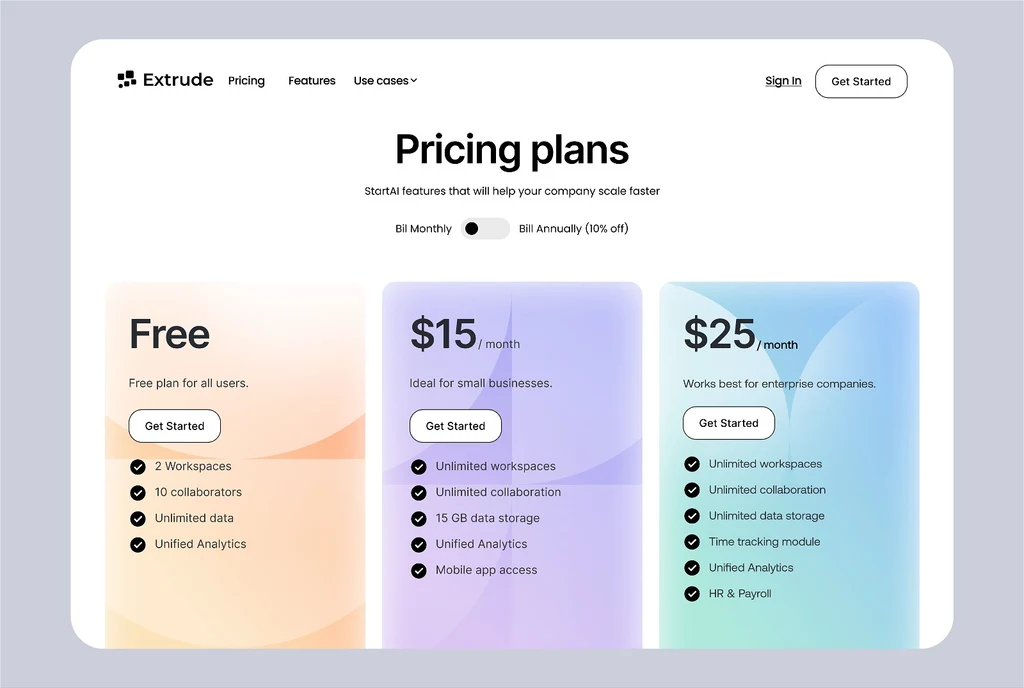
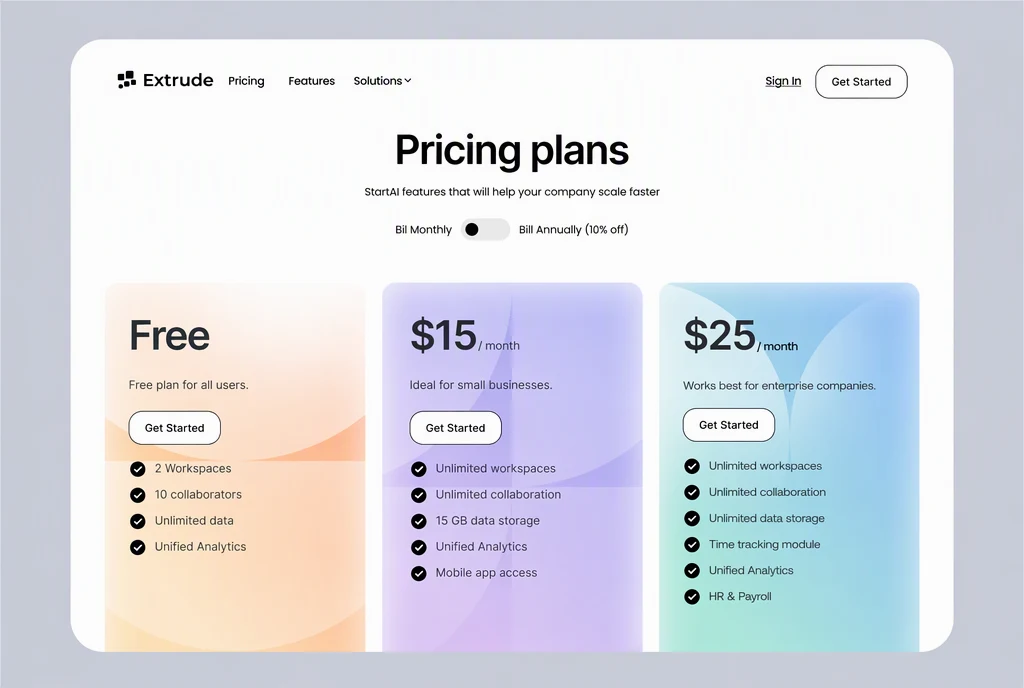
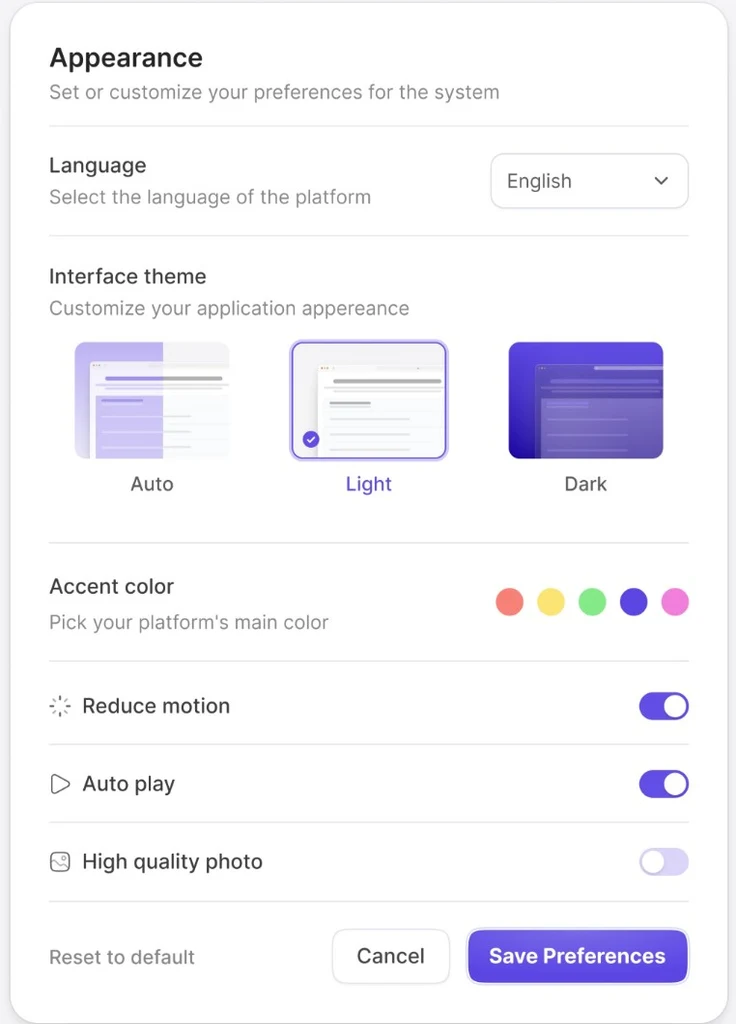
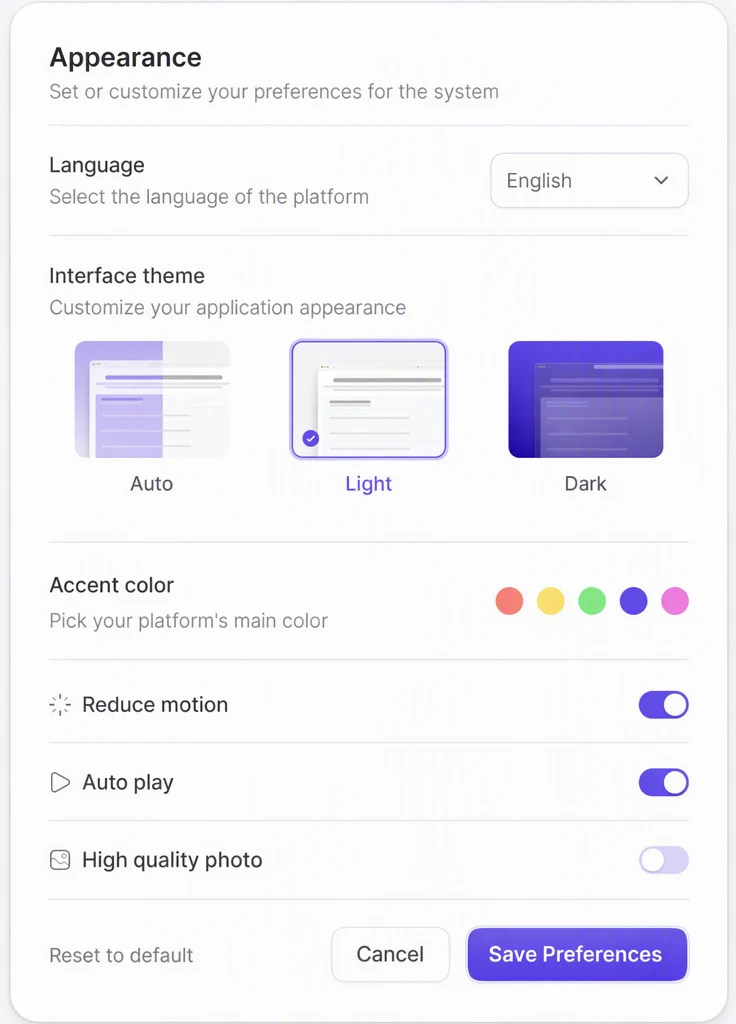
How it works
Capture the screen at a large size
Take the screenshot at the largest scale that suits your document and upload that original file. A copy that was shrunk or compressed when it was shared gives the AI less detail to work with.
Check the detected labels
Each line of interface text appears as an Original entry, from menu items to column headers. If a small label was read wrongly, correct its Original entry. If a label is missing, enter it with Add text.
Write the new label
Enter the new wording in its Replacement field and leave the other entries as they are. Wording of a similar length fits the button, tab or column without crowding its edges.
Choose a quality level
Pick High quality for thin or very small interface fonts, or Standard for page titles and bold labels, then select Apply changes.
Read every character
Move the comparison slider over each changed label and read it letter by letter, including numbers and punctuation, before you download the PNG for your help article, slide deck or review.
When to edit a screenshot instead of recapturing it
A fresh capture always shows the real interface, so take a new screenshot when the screen is easy to reach. Editing helps when the exact state is hard to recreate: a screen that needs demo data, a flow that takes many steps, an older release you no longer run, or a mockup that exists only as an image.
For a design review, you can show a proposed button label or heading inside the real screen instead of describing it in a comment. Make one image per wording option so reviewers compare them in context, and mark each one as a proposal so nobody mistakes it for the shipped interface.
In documentation and tutorials, one renamed menu item can make an otherwise accurate screenshot confusing. Edit text in the screenshot only to match the current release, with the same capitalization and punctuation as the live interface, and recapture it once the screen changes in more than its words.
Small interface fonts
Interface text is often small, thin and drawn with soft edges, so it is harder to read and reproduce than a large heading. The more pixels each letter has, the more detail the AI has to work with, so capture on a high-resolution display or at a higher zoom level when you can.
Dense tables, sidebars, settings panels and tooltips hold the smallest text on most screens. If a label there still comes out uneven with High quality, recapture the screen at a larger scale or shorten the new wording. One short word is usually easier to match than a phrase squeezed into a narrow column.
A screenshot is a flat image, so nothing reflows when a label gets longer. Where a live interface would widen the button or wrap the text onto a second line, a much longer label in a screenshot may look squeezed or crowd the icon beside it. Choose wording that needs no more space than the old label, or change the source design when it needs more room.
What to check before you share it
Interface text sits close to icons, borders and badges, and an edit to a label can also alter what touches it. Check each point below with the comparison slider.
- Icons, checkboxes and toggles next to the changed label are still sharp and in place.
- Button edges, underlines, focus outlines and badges have not shifted or blurred.
- Numbers, version strings and keyboard shortcuts match the real interface exactly.
- The new label follows the capitalization style of the labels around it.
- Lines you did not change are identical to the original.
Frequently asked questions
Can I change the same label across a whole set of screenshots?
Yes, but each screenshot is its own edit. Keep a short list of the exact old and new wording and paste the same replacement into every image, so capitalization and punctuation match across the set. Within one screenshot you can change several labels in the same edit, which helps when a renamed feature appears in both the menu and the page title.
Why was a small label detected with the wrong letters?
Small, thin or low-contrast interface text is easy to misread, and some letters look alike at that size: a capital I and a lowercase l, the number 0 and the letter O, or rn and m. Edit the Original entry until it reads exactly like the screenshot, then type your replacement. If a label is missing from the list altogether, use Add text.
Can I make a field or counter look empty in a mockup?
Yes. Leave the Replacement blank for the placeholder, value or counter you want gone, and the AI fills that area based on the interface around it. Afterwards, check that field borders, the text cursor and nearby icons are intact. To hide someone's name, email address or account details before you share a screenshot, use the separate guide on hiding personal details in screenshots.
Can I edit text in a screenshot taken on my phone?
Yes. Phone screenshots are usually saved as PNG or JPG files, which upload directly as long as they are no larger than 14 MiB. Phone screens fit small type into a narrow space, so choose High quality for tab labels, small buttons and list items, and zoom in on the result to check every character before you use it in a mockup or guide.
What happens to the original screenshot after I upload it?
It stays saved in My images, where you can delete it at any time. If the screenshot shows unreleased features, internal tools or customer information, download the edited PNG you need and then delete the original from My images. That way, confidential screens do not stay in your account longer than the project requires.
Try it on your own image
Or drop an image here. PNG, JPG or WebP, up to 14 MiB.
Your image stays on this device until you sign in.
Sign in with Google to upload. Your first Standard edit is free and includes a watermark.