Text behind image
Type your words, say they go behind the subject, and Add text draws them into your photo with the subject in front.
Or drop an image here. PNG, JPG or WebP, up to 14 MiB.
Your image stays on this device until you sign in.
Examples
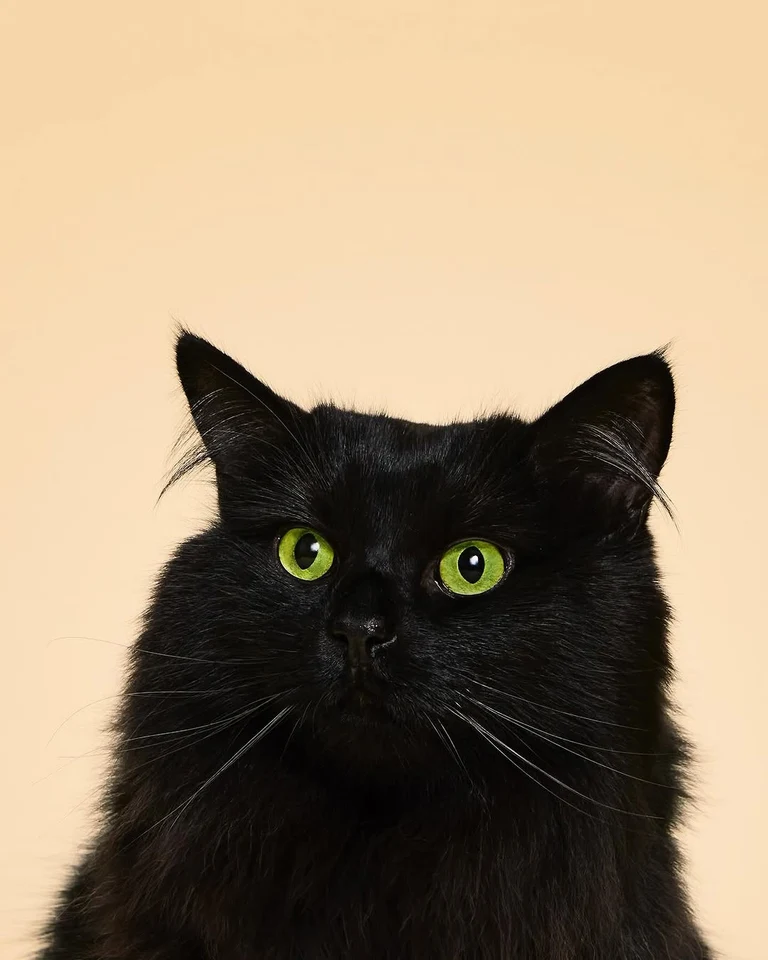
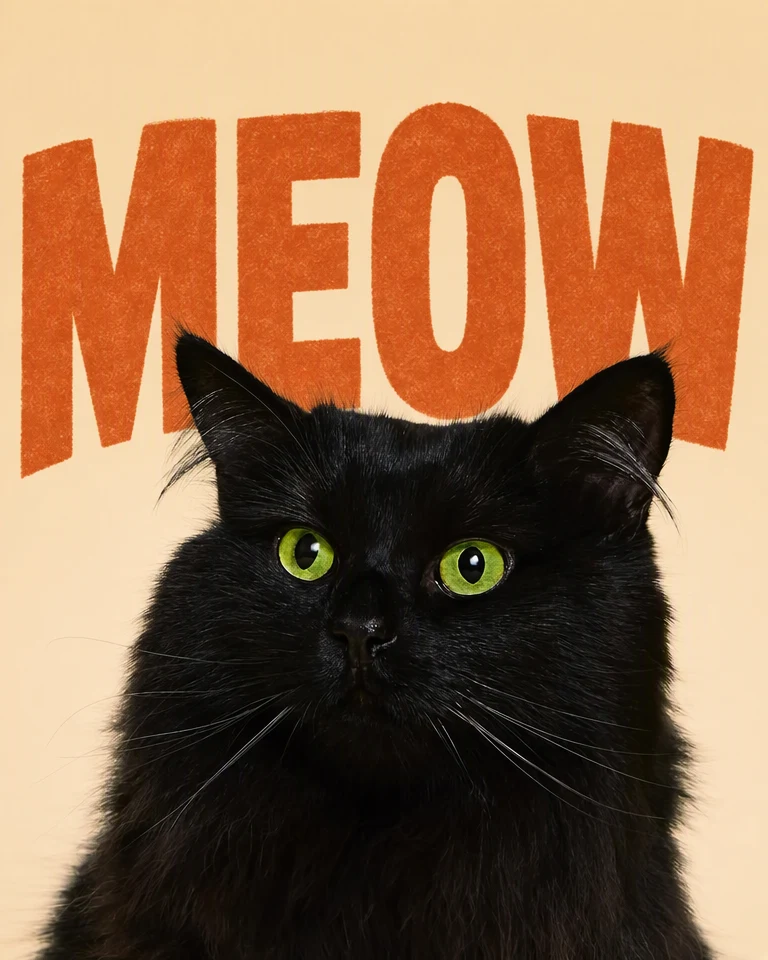
How it works
Choose a photo with a clear subject
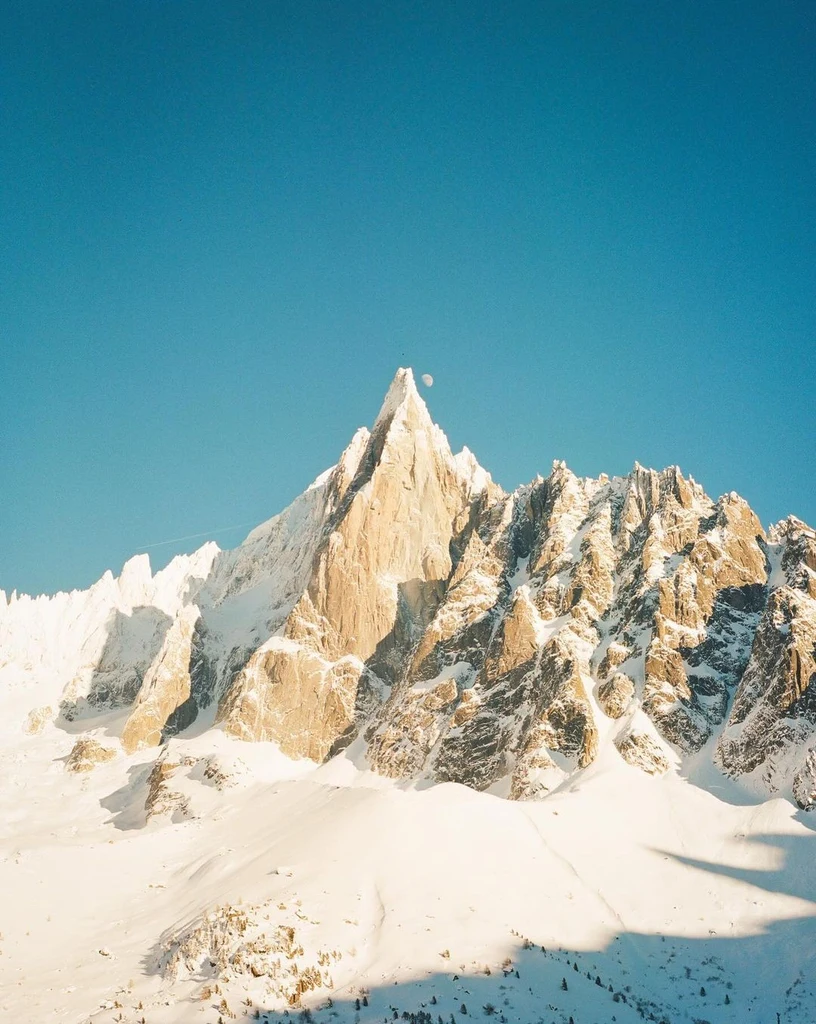
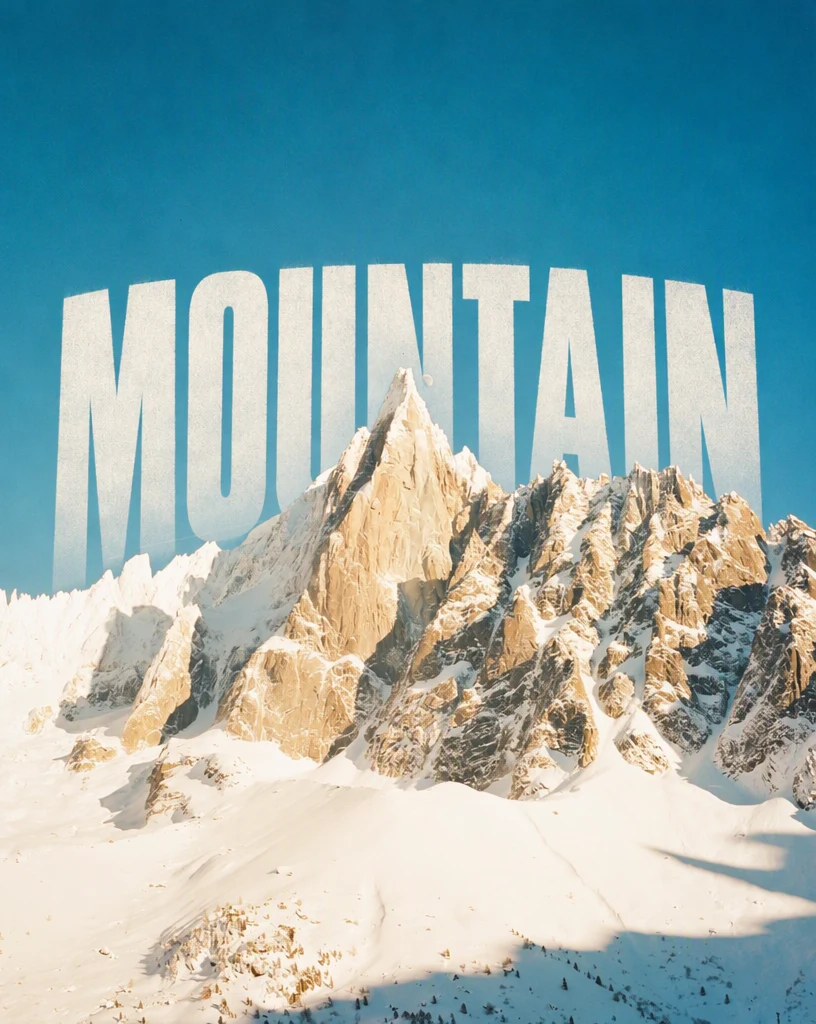
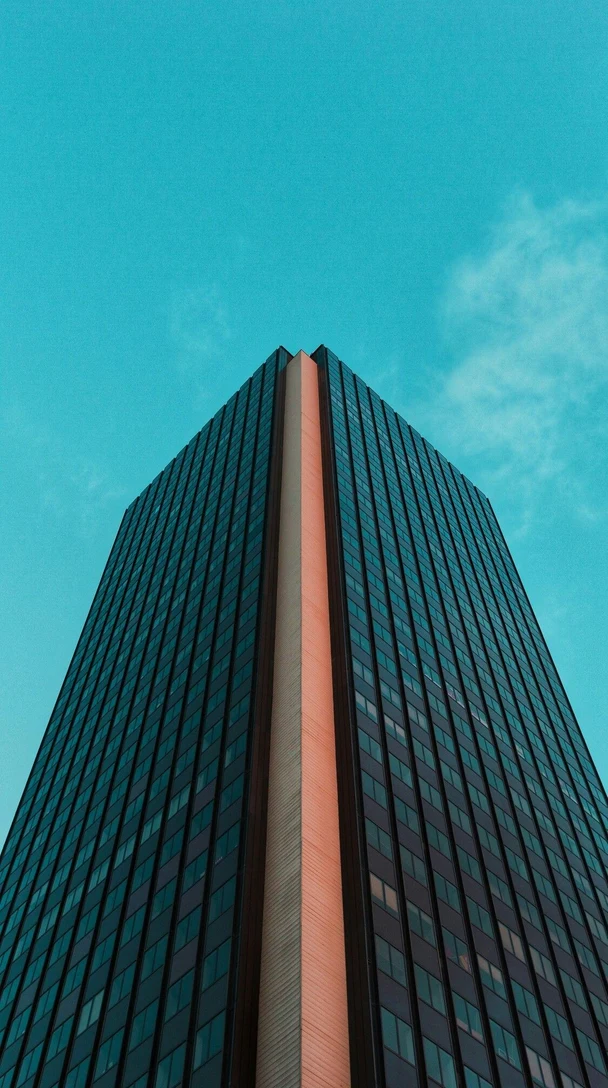
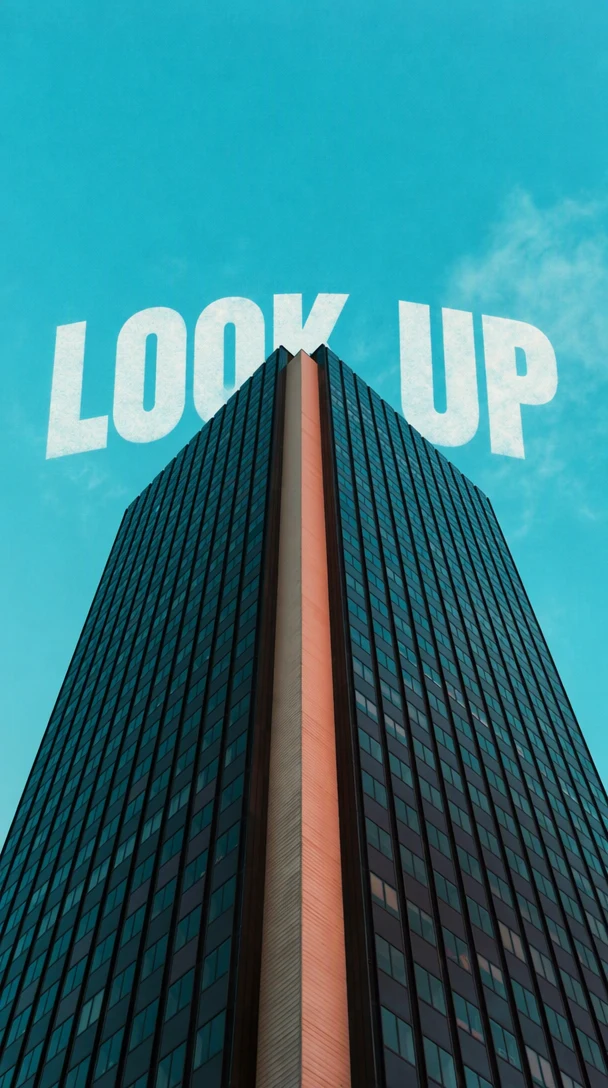
Pick a photo where the subject stands out against open space: a person against a wall or the sky, a pet on a plain backdrop, a peak against the sky or a building seen from below. The words need room behind the subject.
Type the words
In Words, type what the photo should say, up to six short lines. One or two bold words read best, such as a name, a place or a title. The words are drawn as you type them, including capital letters.
Say they go behind the subject
In Where, name the subject and what should overlap, for example: behind the woman, across the wall, with her hair in front of the bottom of the letters. In Look, describe a style if you have one in mind, such as huge white bold capitals.
Pick the quality and add the words
Choose High quality (2 credits) for hair, fur and other fine edges, and Standard (1 credit) for simple outlines such as a building. With a paid plan you can also choose 2K or 4K, where High quality uses 5 or 7 credits and Standard 2 or 3. Then select Add text.
Check the edges and the spelling
Drag the comparison slider and view the result at full size. Look at the subject's outline where it crosses the letters, especially hair, fur and fingers, and check every letter before you download.
Photos that work best
The effect depends on the space between the subject and the background. Words behind a subject read clearly when there is open space around it, such as sky, a plain wall or a studio backdrop, and when the subject covers only part of the letters.
- A portrait with space above or beside the head, so a name or a title can run behind it.
- A pet or a product on a plain backdrop.
- A landscape where a peak, a tree or a lighthouse rises into the sky.
- A building or a statue photographed from below against the sky.
How to describe the place and the look
Where tells the AI which part of the picture is the subject and where the words go. Name the subject in plain words and say which part of it should overlap the letters, for example the head, the ears or the top of the tower. When only part of each letter is covered, the words stay readable.
Look sets the style. Giant bold capitals in white, black or a color taken from the photo are the classic choice, because thick letters stay readable when part of them is hidden. Thin script can almost disappear behind a subject. If you leave Look empty, a style that suits the photo is chosen for you.
Busy backgrounds, such as crowds, leaves or patterned walls, make the letters harder to read and the edges harder to keep clean. If the subject fills the whole frame, there is no room for the words, so use a wider shot or crop with more space around the subject.
Check the result before you use it
Because the words are drawn into the photo, look closely where they meet the subject. Hair and fur are the hardest edges, and a stray strand can end up behind the letters instead of in front of them.
- Every letter is spelled the way you typed it.
- The subject's outline, hair and fingers sit in front of the letters, with no halo or missing parts.
- Enough of each letter shows for the words to be read at a glance.
- The rest of the photo, such as faces, light and colors, is unchanged.
Frequently asked questions
Can I do this without layers or a background remover?
Yes. In design apps, text behind an image usually takes two copies of the photo, a background remover and a text layer placed between them. Add text does it in one step: you describe where the words go, and you get one finished image with the subject in front. It does not give you editable layers, so to change the words later, run Add text again on the original photo.
Does it work with people, pets and buildings?
Yes. It works best when the subject has a clear outline against open space, such as a person against a wall or the sky, a pet on a plain backdrop, a mountain or a building. Curly hair, fur and thin branches are harder, so choose High quality for them and check those edges closely.
Can I choose the font and the color?
Describe them in Look, for example huge white bold capitals, a red condensed sans-serif, or letters in the same orange as the jacket. The letters are drawn to match your description rather than set in a font file, so if you need one exact brand font, a design app with that font installed is the better choice.
Can I use it for a YouTube thumbnail?
Yes. Text behind a person is a common thumbnail style, because the face stays in front while the title fills the space behind it. Leave room around the head, keep the title to two or three words and check it at a small size. To change words that are already on a thumbnail, use Edit text instead.
Can I put text behind someone in a photo I found online?
Only if you have the right to edit that photo. Pictures of other people and images from websites usually belong to someone else, and adding text does not change that. Never use the effect to make a photo seem to show a sign, a message or an endorsement that was not really there.
Try it on your own image
Or drop an image here. PNG, JPG or WebP, up to 14 MiB.
Your image stays on this device until you sign in.